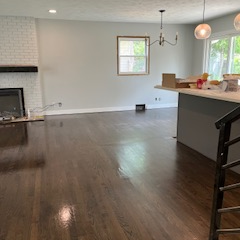
There’s no denying the timeless beauty of hardwood floors. Their rich, warm tones can transform any space and add a touch of elegance. If you’ve decided to install hardwood floors in your home, you’re in for a treat. But where do you start?
In this hardwood floor installation guide, we’ll walk you through the entire process of hardwood floor installation, from the initial preparations to the finishing touches.
So, let’s get started on your journey to a stunning new floor.
1. Pre-Installation Preparations: The Foundation
Assess Your Space
The first step in hardwood floor installation is to assess your space. Take measurements and calculate the square footage you’ll be covering. This will help you determine how much hardwood flooring you’ll need.
Select the Right Wood
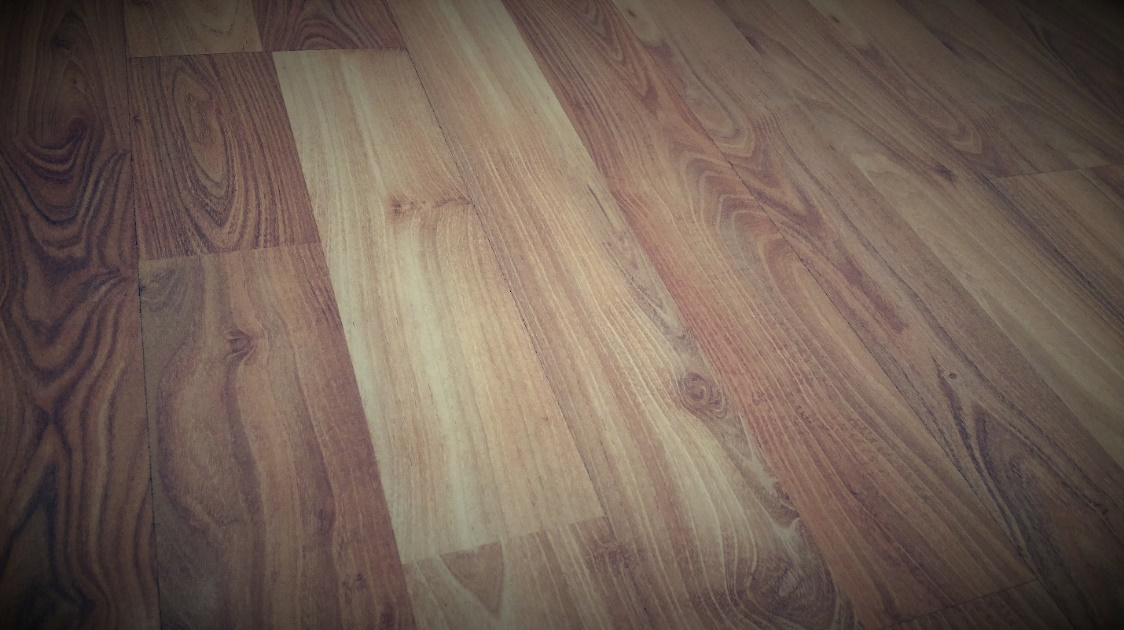
Choose the wood species that suits your style and the durability required for your space. Popular choices include oak, maple, and hickory for their versatility and durability.
Acclimate Your Wood
Wood expands or contracts with changes in humidity. Acclimate your hardwood flooring to the environment where it will be installed. This helps prevent problems like warping or buckling later on.
2. Subfloor Preparation: A Solid Foundation
Inspect the Subfloor
A level, dry, and clean subfloor is essential. Inspect it for any issues like squeaks, protruding nails, or moisture problems. Address these issues before proceeding.
Moisture Barrier Installation
Depending on your location and subfloor type, you may need to install a moisture barrier. This prevents moisture from seeping into your hardwood floors.
3. Installation: Precision Matters
Nail-Down Installation
This traditional method involves nailing the hardwood boards to the subfloor. It’s a popular choice for its stability and durability.
Glue-Down Installation
Glue-down installation uses adhesive to attach the hardwood boards to the subfloor. This method is ideal for concrete subfloors.
Click-Lock Installation
Click-lock hardwood floors have a tongue-and-groove system that allows them to snap together without nails or glue. This is a popular DIY-friendly option.
4. Finishing Touches: The Final Elegance
Sanding
After installation, sanding is done to create a smooth and level surface. It also prepares the wood to accept the finish.
Staining
This step adds color and depth to your hardwood floors. Choose a stain that complements your style and decor.
Finishing
The finishing coat is the protective layer that enhances the durability and beauty of your hardwood floors. It can be oil-based or water-based, depending on your preference.
5. Post-Installation Care: Maintaining the Beauty
Wait Before Moving Furniture
Allow the finishing coat to cure completely before moving furniture back into the room. This typically takes a few days.
Regular Cleaning and Maintenance
To keep your hardwood floors looking their best, establish a regular cleaning routine. Sweep or vacuum daily, use a damp mop for weekly cleaning, and use the recommended hardwood floor cleaner.
6. Seek Professional Guidance
While installing hardwood floors can be a DIY project, many homeowners choose to seek professional help. Expert hardwood floor contractors have the experience, tools, and knowledge to ensure a flawless installation.

Trust Husker Hardwood Floors for Expert Installation
Installing hardwood floors is a significant investment that can transform your space. Whether you choose to take on this project yourself or hire professionals, ensuring the proper installation is crucial. With this guide, you’re on your way to enjoying the timeless beauty and durability of hardwood floors.
Contact Husker Hardwood Floors in Omaha Metro for expert hardwood floor installation services in Omaha Metro!